Solar panels continue to be installed on rooftops around the globe at an increasing rate. Solar is the fastest growing source of renewable energy (up 23%) in the world today accounting for 5.53% of total electricity generation 1.
While the financial payback of solar is favourable in many cases, solar panels also have a long list of other benefits. How solar panels are made and the material they are made from is important to many people when considering solar. As is, the carbon footprint of solar panels and the energy used during their manufacturing.
In this article we explain how solar panels are made and the materials they are made from.
A summary of the manufacturing process:
The process of manufacturing solar panels varies slightly depending on the type of panel. The two common types of panels available are monocrystalline and polycrystalline panels. Thin film panels are far less efficient and are made using a different process.
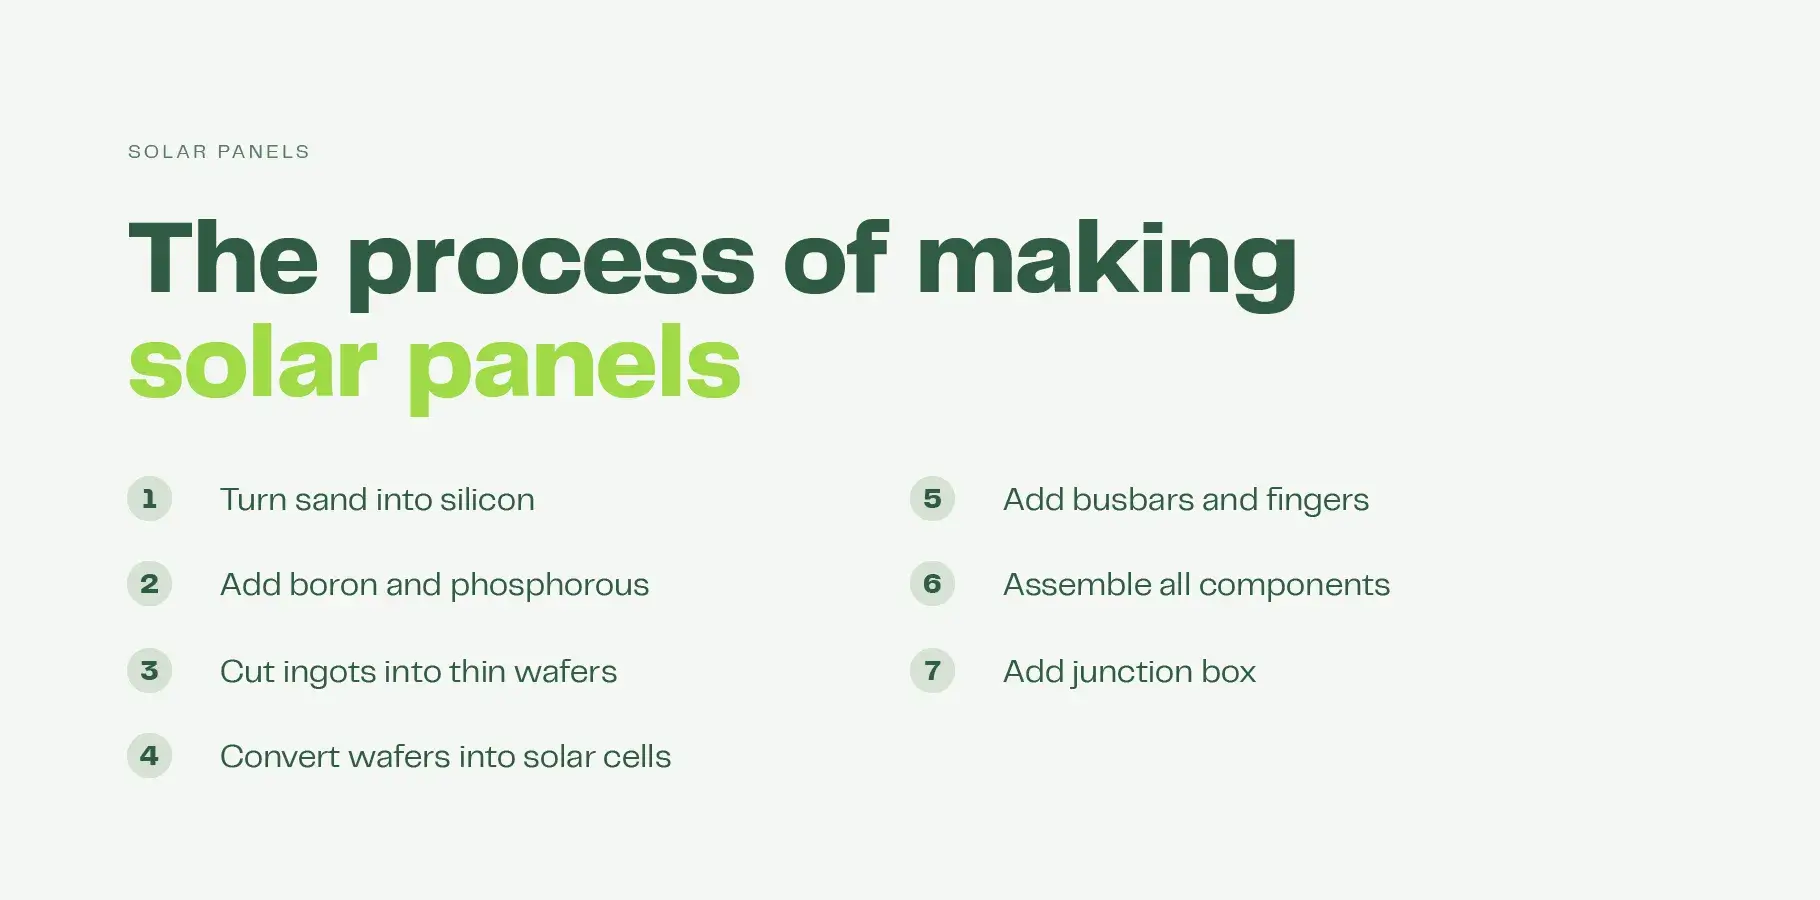
In summary, making high-quality solar panels is a 7-step process using four key materials: silicon, glass, EVA (Ethylene Vinyl Acetate) and metal. The construction process is summarised below:
- 1. Turning sand into pure silicon
- 2. Ingots get cut into thin wafers
- 3. Silicon doping: Adding boron or phosphorous
- 4. Making the solar cells
- 5. Protective layers, and the final assembly
- 6. Weatherproof junction box is added
- 7. Testing
Source: 1 Ember Energy global electricity review.
What solar panels are made of: The key materials
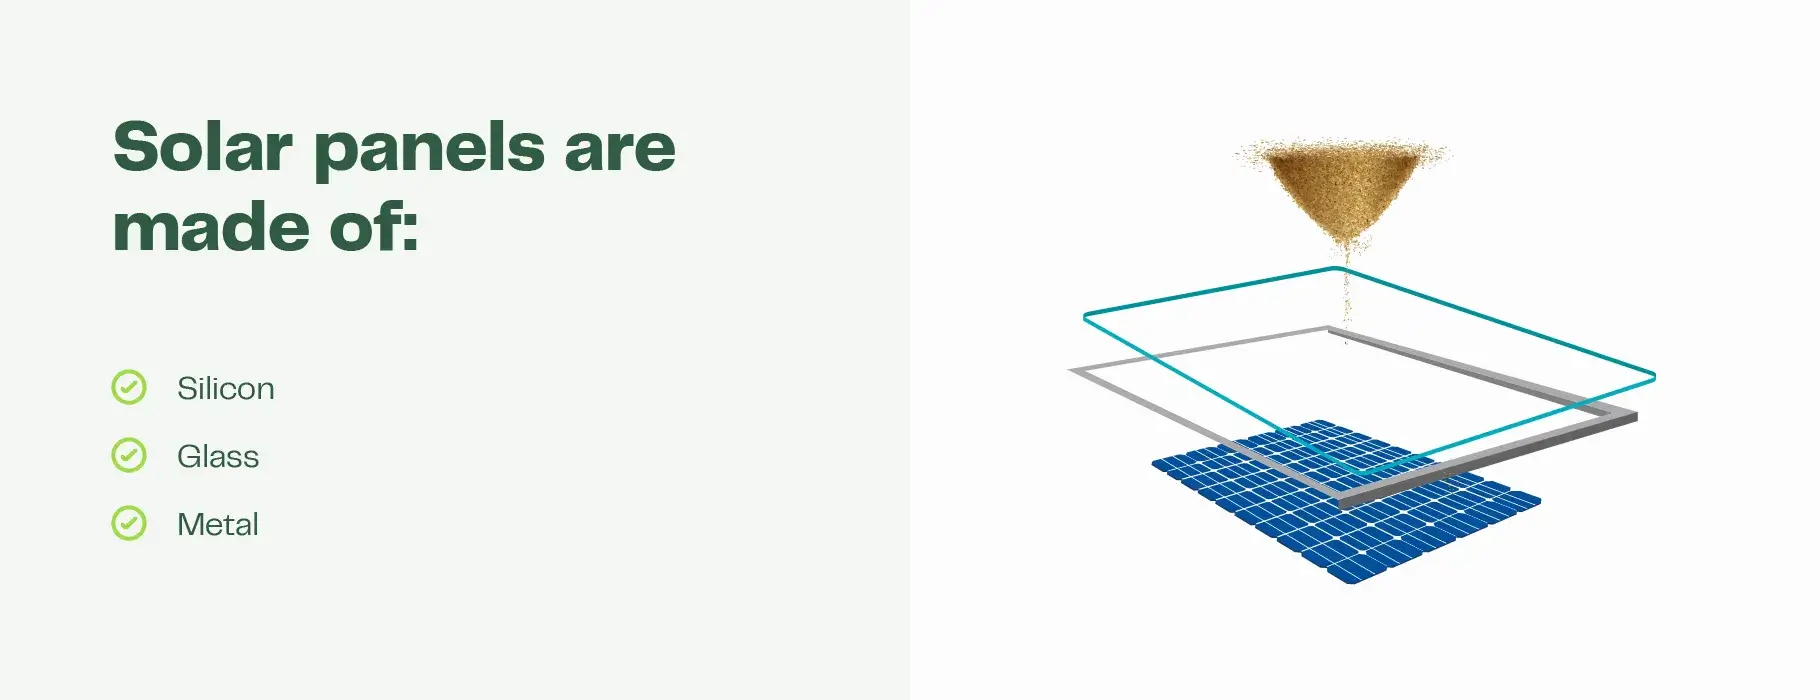
Solar panels primarily consist of four key materials:
- Silicon
- Glass
- EVA (Ethylene Vinyl Acetate)
- Metal
Silicon
Silicon is the raw material needed to make solar cells that allow the panels to convert sunlight into electricity. Silicon is not in short supply, it is the second most common element, behind oxygen, and makes up 27.7% of the earth’s crust 2. It is most commonly found in sand. Despite its abundance, only solar-grade silicon with a purity above 99.99% can be used to create solar cells 3. Furnaces are used to burn away impurities to create the highest-purity silicon.
Sources:
2 Royal Society of Chemistry
3 Solar-grade silicon – Midlands State University, Fidelis Chigondo
Glass
High-quality glass provides a protective layer for each solar module. Solar panels use low-iron tempered glass, often called safety glass or toughened glass, which is strong enough to withstand large hailstones and heavy debris. The thickness of solar panel glass varies depending on the brand, but it’s generally between two and five millimetres thick. Both SunPower and REC panels use glass that is 3.2mm thick.
Despite being incredibly robust, solar panel glass is not unbreakable, and a severe impact can still crack it into small fragments, much like a car windshield.
EVA (Ethylene Vinyl Acetate)
The encapsulant sheets that protect the solar cells are made from EVA (Ethylene Vinyl Acetate). Two transparent encapsulants are used either side of the solar cells, then heated to 150°C to bind the layers together 4.
Many solar panels are made with a white back sheet made from a polymer such as Tedlar, to provide further protection to the rear of the module.
Source: 4 PV Education – encapsultants.
Metal
Metal is another key material used in making solar panels. The outer aluminium frame and the thin copper or silver wiring grid that covers and connects all of the cells are both made with metal.
The outer frame serves two purposes: it holds the panel together and, provides the clamping points needed to attach each module to the mounting system. Most quality solar panel brands also anodise their aluminium to prevent salt damage in coastal environments, which is important in Australian conditions. The wiring found on and between each solar cell is generally made from copper or silver (or both), which are electrical conductors that facilitate the flow of energy.
The process of making solar panels
In 1839, French physicist Edmund Becquerel discovered the photovoltaic effect, and not long after solar panels were invented. The process of manufacturing solar panels has evolved significantly since and many countries all around the world make panels, including Australia. Panels are far more efficient and all leading solar brands now use advanced, highly automated factories that produce millions of panels with incredible speed and precision.
The manufacturing process of making a solar panel can be broken down into seven steps:
1. Turning sand into pure silicon
Firstly, silica sand is turned into high-purity silicon. To do this, manufacturers use a large arc furnace running at temperatures of up to 2000°C that burn away impurities and produce silicon rocks. This silicon is refined further until its purity is greater than 99.99%.
2. Ingots get cut into thin wafers
The manufacturer then cuts each ingot into very thin wafers. You can think of this process a little bit like slicing up a loaf of bread; only it uses special diamond wires that work with incredible accuracy.
3. Silicon doping: Adding boron or phosphorous
Boron or phosphorous is added to the purified silicon wafers to assist with creating an electrical charge. Boron is used for P-Type cells (positive charge cells) and phosphorous for N-Type cells (negative charge cells).
4. Making the solar cells
Each coated wafer, which is less than half a millimetre thick, is then fitted with vertical “busbars” and horizontal “fingers” that serve as electrical conductors when exposed to sunlight. With finished cells now ready for assembly, they’re soldered together in groups of 60 cell or 72 cell matrix-style grids forming the nucleus of the panel.
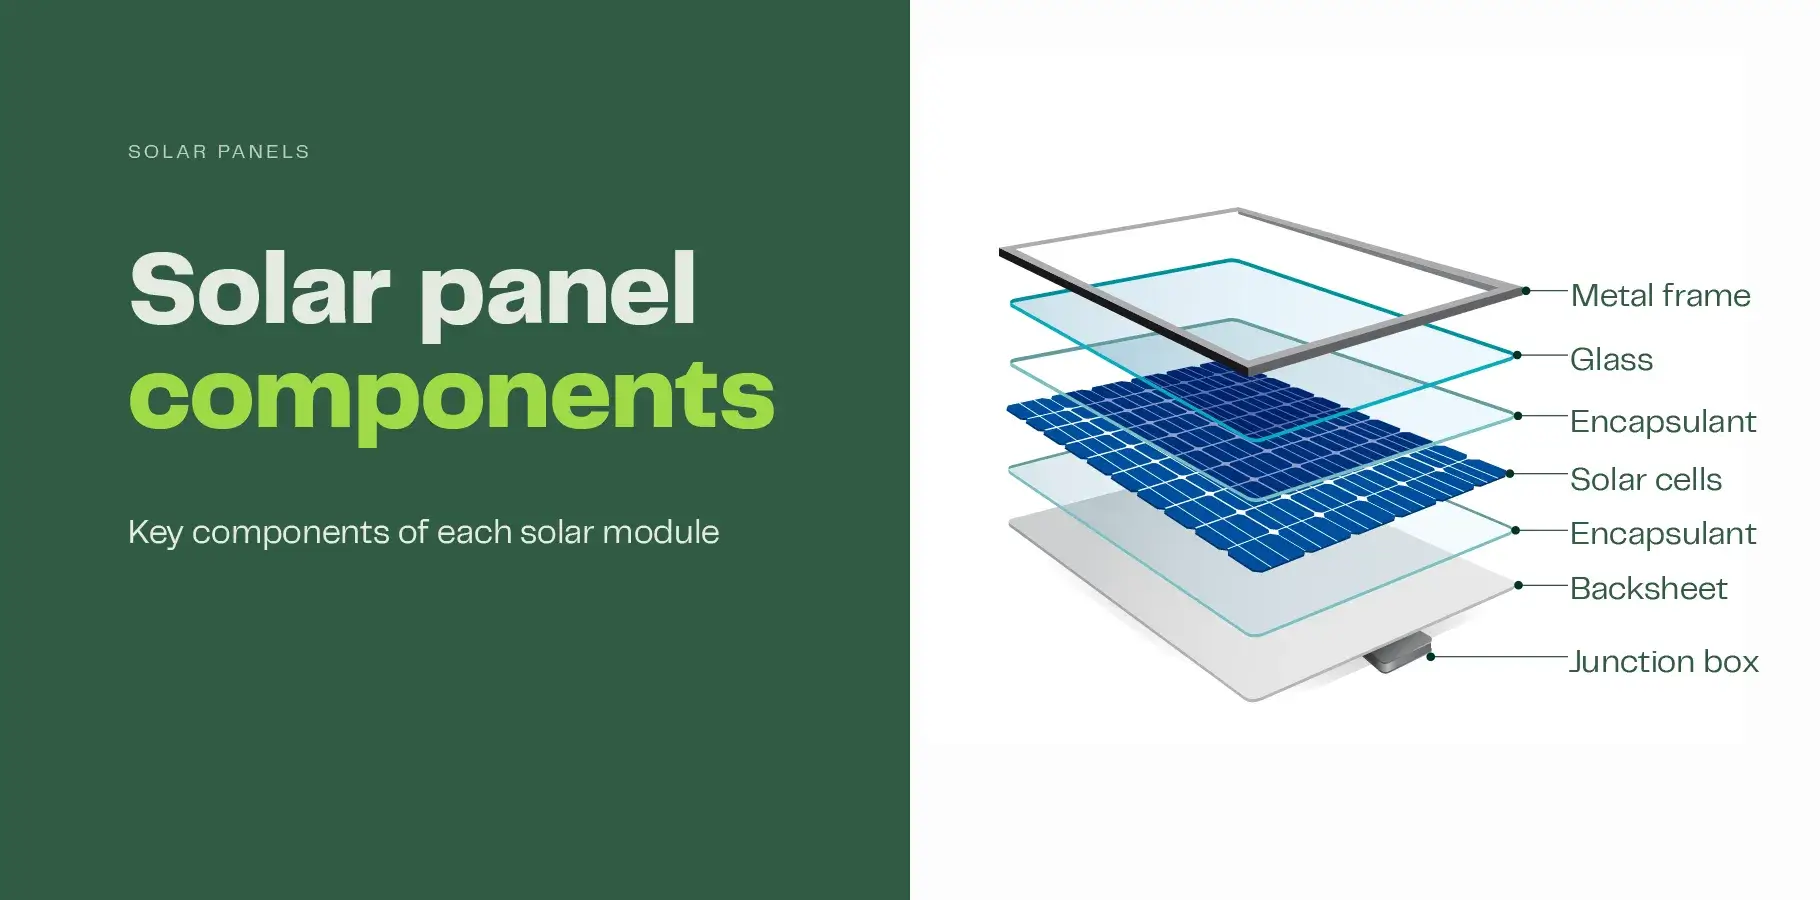
5. Protective layers, and the final assembly
The panel is then sandwiched between two layers of transparent EVA sheets and baked at high temperatures. A protective back sheet is added to the rear of the panel and a pane of tempered glass added to the front. The layers are then fitted into an aluminium frame.
6. Weatherproof junction box is added
Once the panel is assembled, the manufacturer then attaches a weatherproof junction box to the back of the module, including the cables needed to connect panels together during installation.
7. Testing modules
The final step in the process is arguably the most important, testing. Each completed solar panel undergoes a series of quality-control tests and a final deep clean before it is packaged ready for distribution to third party authorities for independent testing.
How solar panels produce electricity
A basic understanding of how solar cells within solar panels generate electricity is useful to understand the manufacturing process and the importance of the key materials. When the sun shines on solar panels, electrons released from the sun react with the semi-conductor material within the panel, typically silicon doped with either boron or phosphorous. The reaction creates an electric current. This Direct Current (DC) is captured by the grid-like busbars and fingers within the panel casing.
The solar panels have created Direct Current but an inverter is needed to convert it to Alternating Current (AC) so that it can be used to power household electrical appliances. This is essentially how solar panels work.
Sunlight is vital to making all of this happen! Many other factors contribute to the financial viability of solar on residential rooftops, for a quick online analysis, we recommend using our solar panel calculator.
Carbon footprint of solar panels
The National Renewable Energy Authority (NREL) published a study of life cycle Greenhouse Gas Emissions for solar panels. It estimates that photovoltaic solar panels emit 40g CO2 equivalent per kWh over the course of their lifespan. Up to 70% of these emissions were created during the manufacturing of the solar panels. By comparison, coal was 1,000g CO2 eq/kWh, or 25 times greater.
However, these studies were performed back in 2012, when solar panel efficiency was around the 14 – 15% mark. There are three key reasons why CO2 emissions are likely significantly less today:
- 1. Solar panels are far more efficient
- 2. Australia’s conditions are far more favourable
- 3. Manufacturing processes are less carbon intensive than they were 10 years ago
Longevity and recycling
Solar panels are built to last more than 25 years. The level of efficiency drops slightly every year, more so for inferior panels.
At the end of their useful life, many of the solar panel components can be recycled and the process of making them can start all over again.